Black Beans ~ Homemade With Love

Hello lovelies,

Beans, Beans, They’re good for your heart, The more you eat them – the more you…..

Cooked-Beans-In-Collander

That’s pretty much all I knew about beans. Which is not really saying much!

I believe the song to be very accurate because beans are said to be good for your heart as well as leaving you the urge to….

I am cracking myself up here, people.

Trying to stay focused…and moving back to the topic at hand. I had NEVER eaten beans, there was just something about the texture that grossed me out. With that said, a couple of months ago I put on my big girl pants and made myself try them. What I found out was that I really loved beans – imagine that! Who would have thunk??

One of the reasons I believe I am enjoying these beans is because of the way they have been prepared. They are packed with flavor and cooked to just the right consistency for my family and I.

You should know I prefer to use a pressure cooker to prepare my beans. You can of course use a traditional sauce pan, however you would have to adjust the cook time. No biggie – they will work either way.

Ingredients

This is what you will need:

  • Black Beans (Soaked)
  • Butter
  • Onion
  • Cubanelle Pepper (If you can’t find cubanelle substitute with red or green bell peppers)
  • Garlic
  • Dried Oregano
  • White Wine Vinegar
  • Water
  • Mushroom Broth

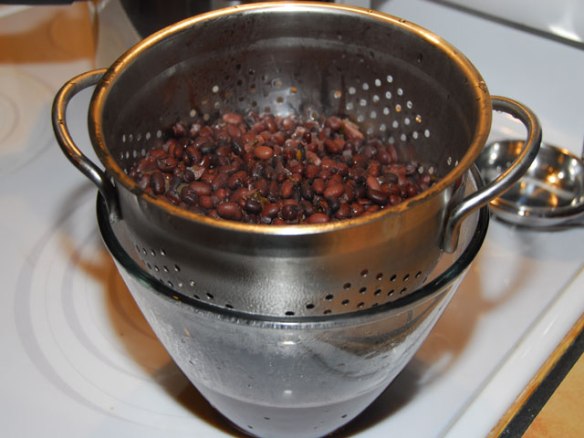
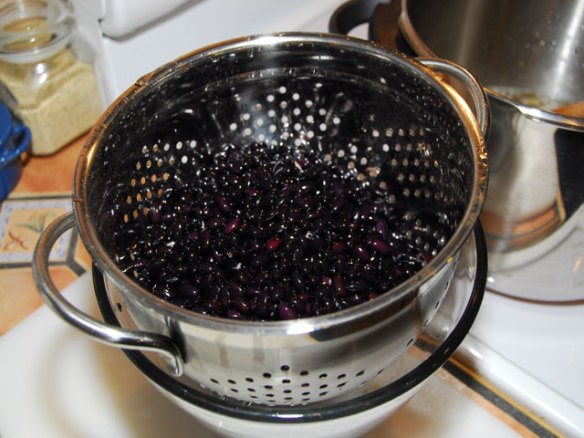
IMPORTANT: You will want to soak your beans for 4-8 hours before you cook them. As seen in the photo above.

ALSO IMPORTANT: The ingredients go into the cooker pretty quickly so it would be wise to prep all the ingredients prior to turning on the stove.

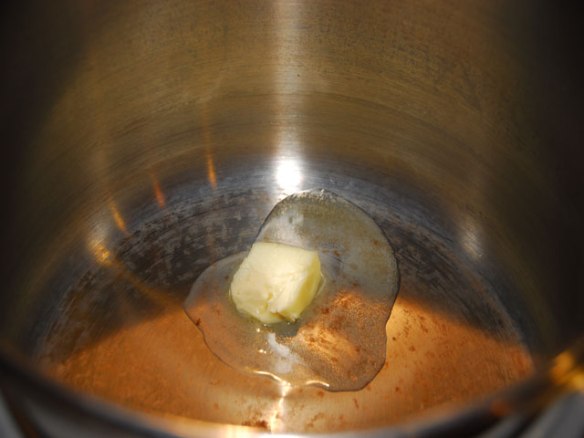
Butter

Turn your stove to medium hight heat – #8 on my stove.

Add butter to your cooker and melt.

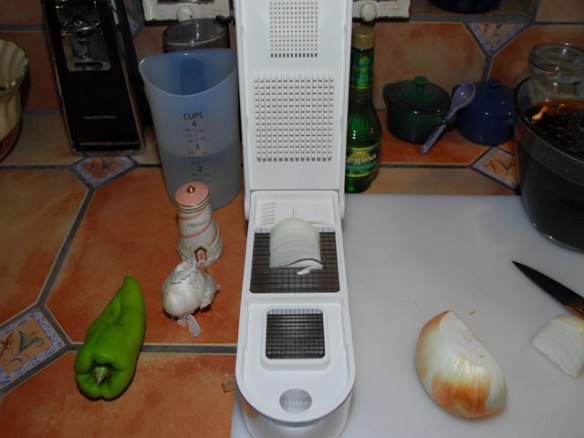
Chopping-Onions

Now this is a handy-dandy device I have fallen in love with! It makes quick work out of onions and all my other vegetables.

For a while I was a knife snob. I thought by chopping everything by hand it was somehow better – because so many people refuse a tasty dish based on the chopping technique of the chef….so after I got over my Julia Child complex I moved onto this little masterpiece of a time saver.  The only thing I regret is not finding it sooner!!

Back to the recipe – Chop 1/2 an onion, please.

Chopped-Onions

Here is an extra photo just so you can see how perty my onion looks…You’re welcome.

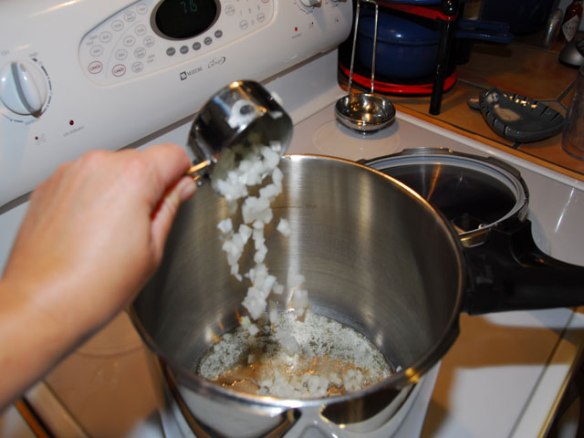
Onions

Place 1/2 cup of chopped onions into your cooker.

Garlic

Followed by 3 diced garlic cloves.

Cubanelles

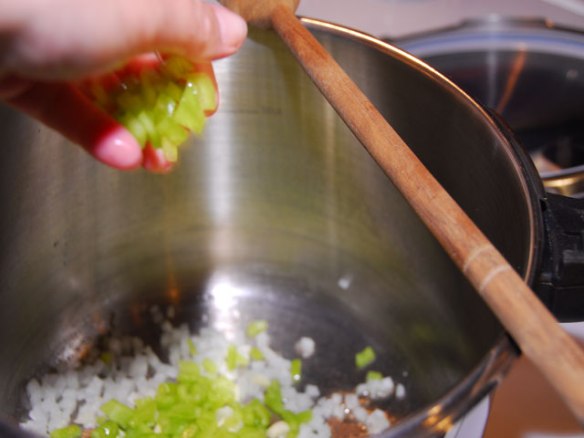
Followed by 1/4 cup cubanelle peppers diced.

Let these ingredients sauté until you can really smell them. About 2-3 minutes. We are not caramelizing them we just want to release their flavors.

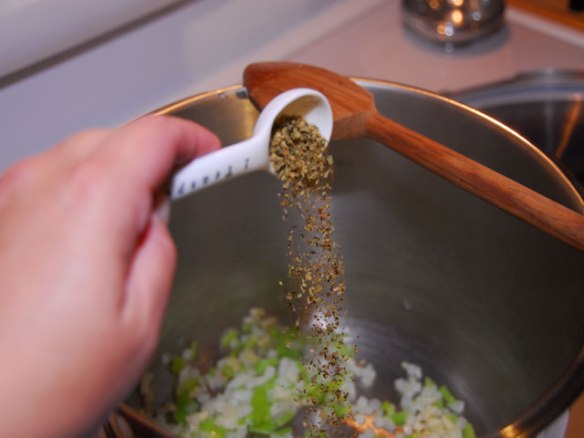
Pepper

Add 1 tsp dried oregano.

Vinegar-into-Pressure-Cooker

Followed by 3 tbsp of white wine vinegar.

Let this cook for another 2-3 minutes.

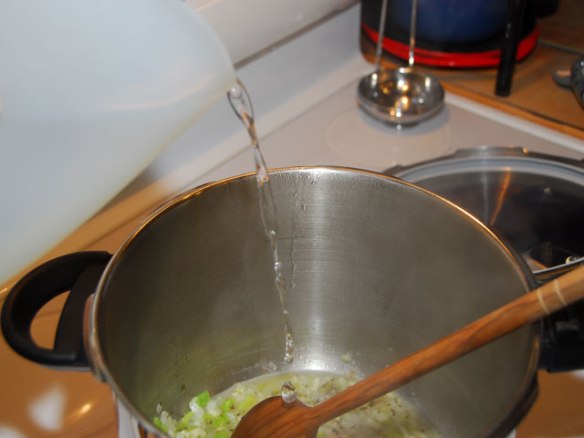
Water-into-Pressure-Cooker

Add the water.

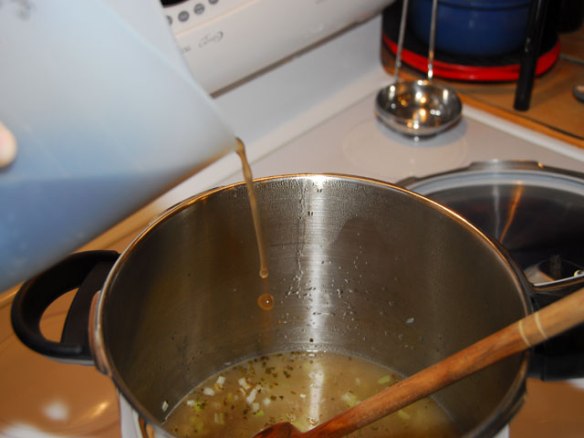
Broth-Into-Pressure-Cooker

Followed by the mushroom broth.

Beans-in-Collander

Drain the beans. You do not need to keep the water the beans soaked in.

Beans-into-Pressure-Cooker

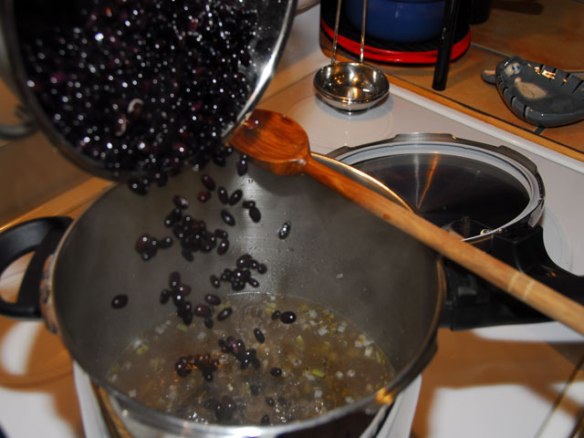
Add the beans to the cooker.

Crank the heat to high and bring to a boil.

Pressure-Cooker-Photo

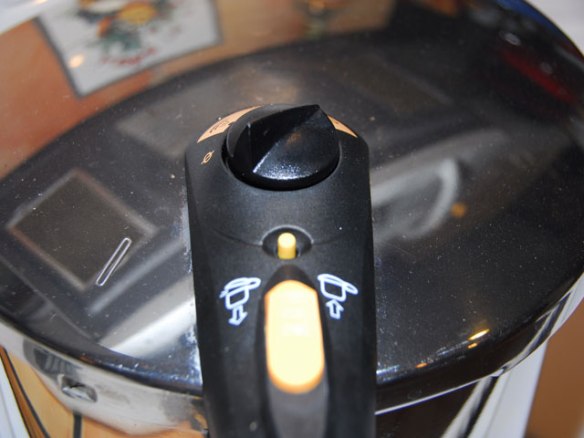
Above is a photo of a pressure cooker. Which I assume you figured out already, but just in case – that’s what it is.

I use a stove top version. There are also electric versions, however I find you really don’t save that much time with them since it takes quite a while for them to come to temperature.

Again, what ever you are more comfortable with is what you should use!! I want you to be happy!!

This is important:

  • Once the liquid is boiling place the lid on your pressure cooker.
  • Drop the temp to medium high.
  • Once the pressure indicator pops up that means you are at the right pressure for cooking.
  • This is when you start your timer.
  • Set your timer for 10 minutes.
  • Once the timer rings pull your cooker off the stove and empty the steam.
  • Be very careful when releasing the steam from your cooker. If you touch the steam it WILL burn you severely.
  • I wear oven mitts just to be extra cautious when handling the cooker and order everyone, and I mean everyone – even the dogs, out of my kitchen – better to be safe than sorry!!

Everything-in-Pressure-Cooker

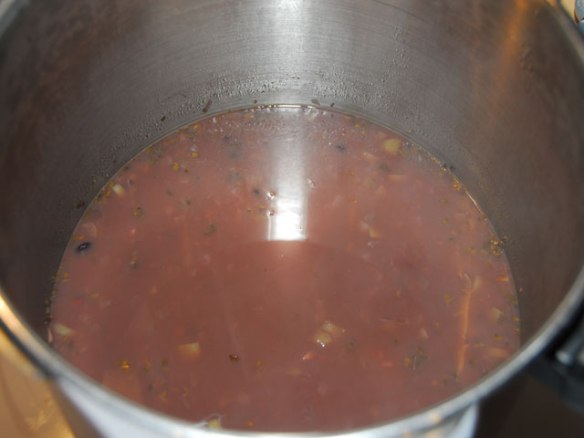
This is what it will look like when you open the pot.

Always take a test of your beans just in case you want them cooked more.

Once you are satisfied you can pour your beans into a container or separate the beans from the liquid.

DO NOT throw away the liquid – This liquid is like GOLD!!  Black bean juice is great to use in lieu of stock or water in all sorts of recipes!!

Cooked-Beans-In-Collander

And there you have it – The best black beans…If I do say so myself, which I actually did say ~ so, you get it right? – Anyway they’re goooood.

AAA---Until-Next-Time-Seperator

Until next time…A word of advice – Don’t eat beans on your first date or you might really “toot” your own horn!!

Still cracking myself up – Good grief ~ someone stop me!!

Be blessed, stay blessed and remember if you don’t laugh at yourself someone will do it for you!!

Love, L.

AA---Recipe-Header-For-Blog

Vegetarian – Black Beans

Ingredients

  • 2 cups black beans, soaked for 4-8 hours
  • 1 tbsp. butter
  • ½ cup onions
  • ¼ cup cubanelle pepper
  • 3 cloves garlic
  • 1 tsp oregano dried
  • 3 tbsp. white wine vinegar
  • 2 ½ cups water
  • 2 ½ cups mushroom broth

Method

MAKE SURE TO SOAK YOUR BEANS FOR 4-8 HOURS PRIOR TO COOKING.

  1. Place pressure cooker on stove and turn heat to medium high.
  2. Melt butter.
  3. Add diced – onion, cubanelle pepper and garlic.
  4. Saute for 2-3 minutes.
  5. Add dried oregano and white wine vinegar.
  6. Cook for an additional 2-3 minutes.
  7. Add water and broth.
  8. Drain beans and add to broth.
  9. Turn heat to high.
  10. Once liquid is boiling place lid on cooker – secure properly.
  11. Once pressure indicator is ready – drop temp to medium high.
  12. Set timer for 10 minutes.
  13. Pull cooker off stove and depressurize.
  14. Separate liquid from beans if desired or store together.

A Little Nostalgia To Brighten Your Day

Hello lovelies,

Welcome to another beautiful day!!

One of my husband’s favorite expressions is, “Been right there.”

Fun Fact…I’ve been right there!!  Where is there you ask…Exton, Pennsylvania.

The video you’re about to view was filmed at the drive-in movie theatre I used to visit as a kid.

What fun drive-in movie theaters were.

I remember all the fuss when The Hooters were going to film this video.

My best friend’s sister went to the video shoot – it was 1985 and she was waaaayyy cool.

Ah, good memories.

I hope you enjoy this as much as I do!!!

{Mobile users click here to view this video}

AAA---Until-Next-Time-Seperator

Until next time…Remember you’re never fully dressed without a smile.

Be Blessed, Stay blessed and remember if you don’t laugh at yourself someone will do it for you.

Love, L.

Sun Harvest Citrus ~ A Must On Your Florida To Do List

Hello Lovelies,

Sun Harvest Citrus in Fort Myers, Florida is a magical place that our family loves to visit as often as possible.  Besides having the best oranges and grapefruits in town, they also have a spectacular gift shop, bakery, post office, various juices, ice cream, free juice samples and so much more.

Fair warning ~ Don’t be in a hurry when you visit because there is plenty to keep everyone entertained.

Let me show you around.

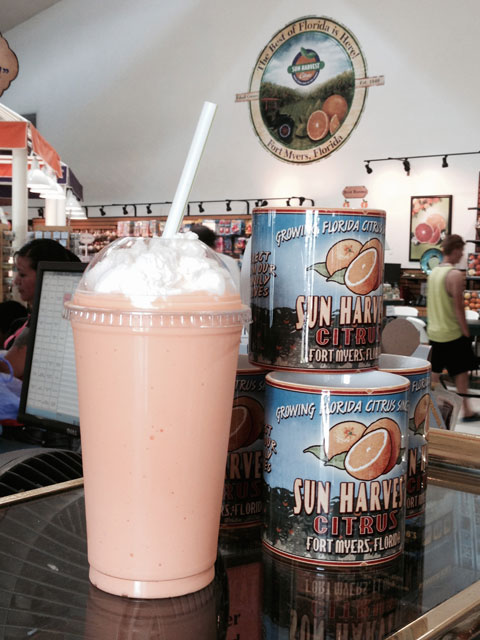
Milkshake

First and foremost, Sun Harvest Citrus makes the most phenomenal milkshakes – period! Our family favorite is their orange milkshake that taste like a creamcicle.

If milkshakes are not your thing, they also have soft serve ice cream in several different flavors as well as a vast assortment of decadent pastries.

Let me just say, YUM!

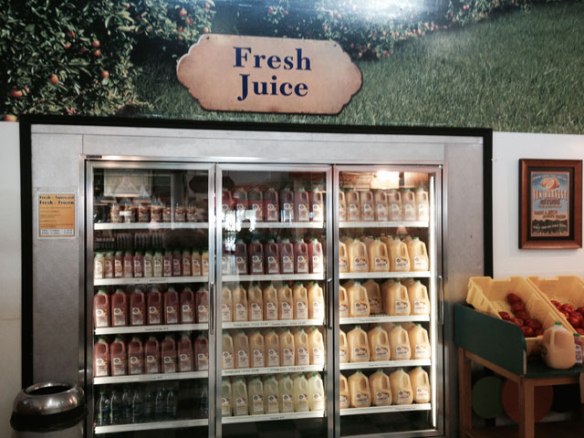
Fresh-Juice

Second, Sun Harvest Citrus hands down makes the best orange juice.  But here’s where things get even better – they don’t only make plain orange juice (which is spectacular unto itself). Oh no…they step it up a notch by combining Strawberries with Oranges and Cranberries with Oranges taking OJ to the next level.  You must taste to believe, my friends.  These two juice variations are ah~mazing.

Here’s some more good news, you can purchase their juice on site.  If you’re not sure which one you prefer, no problem, they have that covered.  There is an entire tasting station devoted to sharing their juice with you at no charge.  Taste away and leave with your favorite juice in a half or full gallon.  Bring your coolers, because you’re not going to leave with just one, trust me.

Behind-glass

Fun Fact – Their juice is made on site.

There is a glass partition that separates the juice plant from the store. You can watch the employees packaging the juice which is pretty cool for both kids and adults.

It’s kind of like an aquarium, but instead of fish there are people and instead of water there is juice. So basically it’s nothing like an aquarium…it’s just a glass partition.

Still it’s fun to watch!

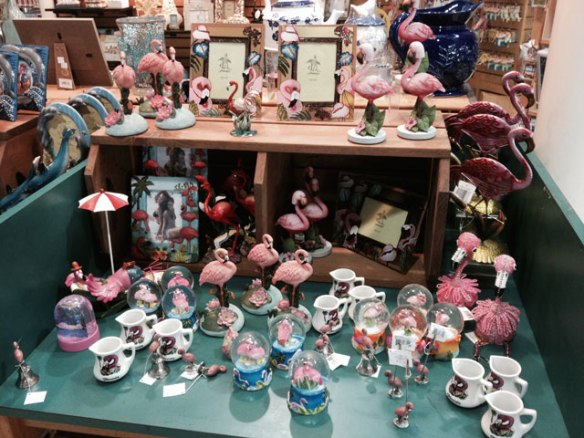
Flamingo-Statues

They also have this fabulous gift shop where you can purchase all kinds of things you don’t necessarily need, but surely will want.

And then you can mail them to friends and family at the US Post Office that is housed inside the building.  These people really know how to make things easy.

Fruit-Shipping-Center

Last but surely not least ~ You can even send fruit to people you love.

Everyone knows nothing says “I love you” like a basket of fruit. Well…maybe jewelry – but for the sake of this post let’s just stick with fruit.

Their fruit boxes come in a wide variety of arrangements, making it easy to pick the perfect gift for pretty much anyone, especially for those “impossible to buy for” people.

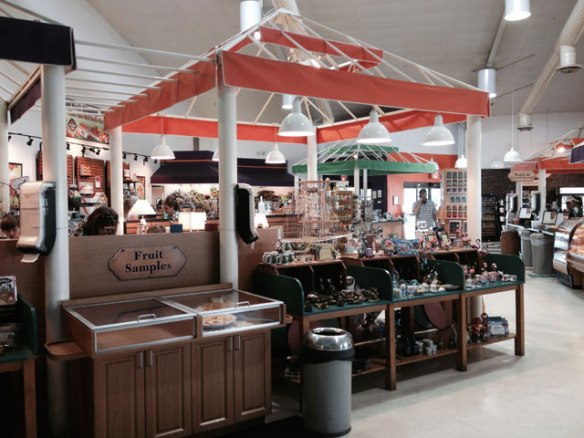
Gift-shop

So there you have it.  If you are visiting Southwest Florida this should absolutely be on your list of things to do.  Let Sun Harvest Citrus provide a break from the heat and entertain you for a while ~ you’ll be glad you stopped by.

AAA---Until-Next-Time-Seperator

Until next time…Be blessed, stay blessed and remember if you don’t laugh at yourself someone will do it for you!

Love, L.

For additional Information or directions you can click on this link (Sun Harvest Citrus) or contact them directly at 800-743-1480.

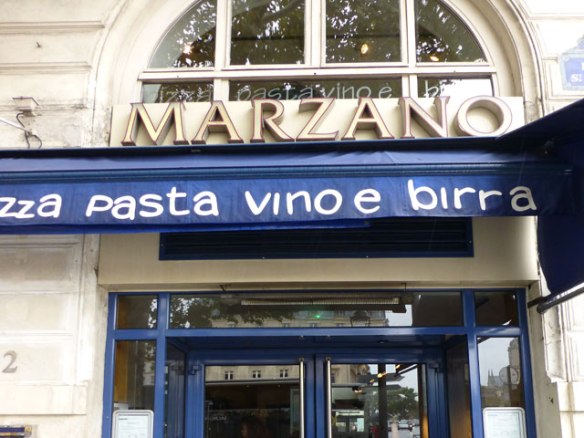
Pizza in Paris – Pizza Marzano is Ooh, la, la!!

Pizza-Marzano

Hello Lovelies,

I consider myself somewhat of a pizza aficionado.  My qualification are as follows – I’m an Italian from Jersey.  Clearly, my qualifications speak for themselves.  Even so, I’m not a pizza snob.  I will entertain any and all pizzas with various crusts and toppings – such as but not limited to, thin crust, thick crust, cheesy crust, just cheese, lots of veges and white pizza.  Are you hungry yet?

Fountain-St.-Michael

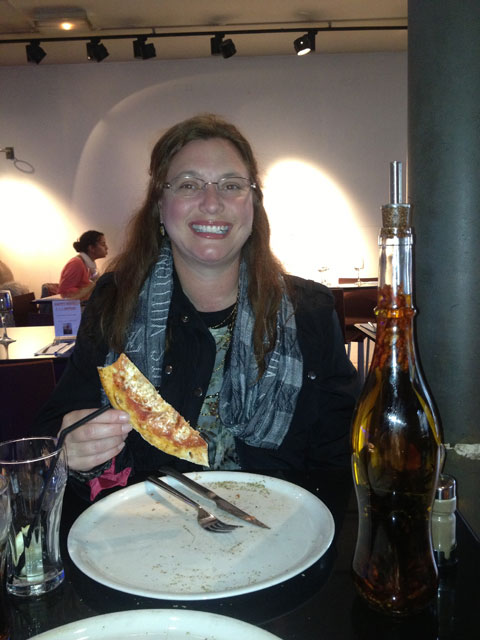
I hope so because I am going to introduce you to a little gem we found on our first few hours in “as magical as everyone says it is” Paris, France.  Now I realize pizza may not be everyone’s first choice for dining in Paris, however, for my family it couldn’t have been a more welcome meal.  Pizza Marzano is located in Place Saint-Michel in the 5th arrondissement in Paris.  It is across from the The Fontaine Saint-Michel and walking distance from Notre Dame. It’s quite the hustle and bustle corner as the subway is also accessed at this location.

Mommy-at-Pizza-Marzano

Seeing as this was our first restaurant experience in France we were elated when our server spoke to us in English.  That of course, was after we unintentionally butchered their lovely language.  We are firm believers in speaking, or at the very least, making an effort to speak the language of the country we are visiting.  We believe this illustrates how much we respect their country.  In turn, we are always met with very gracious hosts, as was the case at Pizza Marzano.

For our order we stuck with an oldie but goodie…a plain cheese pie. It was good.  So good in fact, that we ate there a couple more times during our short stay. Their prices were reasonable and their restaurant was warm and cozy, which was fantastic because we were freezing!

Between the local bakery, the Sunday market and Pizza Marzano we ate like kings!  Our boys still talk about Pizza Marzano being one of their favorite restaurants.  Imagine that, not even teenagers and having one of their favorite restaurants located in Paris, France.  Ooh, la, la! These are exactly the fun memories we enjoy creating with our boys.  I’m very glad I was able to share this one with you.

AAA---Until-Next-Time-Seperator

Until next time…If you reject the food, ignore the customs, fear the religion and avoid the people, you might better stay home. ~James Michener

Love, L.

Can you guess where this photo was taken?

IMG_1375

We have been very fortunate to travel to many beautiful places.  Look at this photo and see if you can guess where we were when we experienced this breathtaking view.

2 Reasons To See Costa Rica Through The Eyes Of A Child

Hello Lovelies,

Our boys were 6 and 7 years old when they first visited Costa Rica. Before our departure we made the decision to gift them their own cameras. We bought them each their own digital waterproof cameras. Waterproof for obvious reasons – they are boys and they were 6 and 7…did I mention they are boys? Right, I did. Good, moving on.

We labeled each camera with their name and encouraged them to take photos of everything and anything they pleased. Unbeknownst to us, we were about to return home with some of the most wonderful memorabilia of our vacation.

Join me as I reminisce.

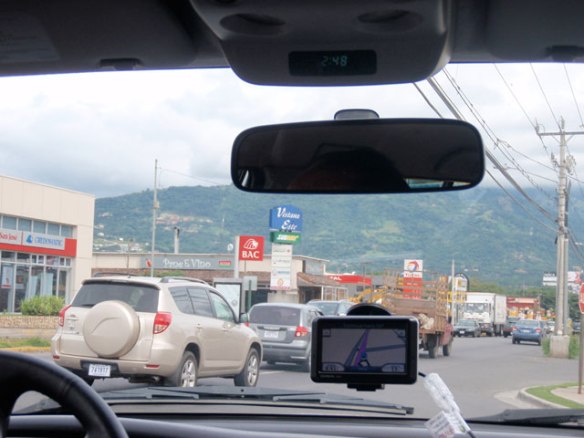
Driving-through-San-Jose

These types of photos have become some of my favorites.

Their ability to see past the obstructions made it possible for them to truly capture the essence of the city.

These photos enabled us to recall the sites just as if we were driving down the streets once again, we were able to remember the stores we passed, the types of vehicles that were driven and how uninhibited the drivers were. Which is a polite way to say, they interpret their traffic laws more as suggestions rather than defined rules and they pretty much lack any semblance of order on the roadways. But HEY, that’s what makes it thrilling to drive around Costa Rica, in a weird take your life into your own hands kind of way.

All of these intricacies are what comprise some of our most fond and funny memories. These details are what make each country unique. Details that are not always photographed by those of us who are older, but our little boys with their uninhibited spirits captured them expertly.

Don’t just take my word for it – Give your kids a camera and see for yourself.

Taking-Picture-2

People taking pictures of people taking pictures ~ or in this case brother taking picture of brother taking picture.

I just adore this photo. It will always remind me how small their little hands were on this trip.

They’re growing up so fast – excuse my while I go sniff their baby blankets and cry…

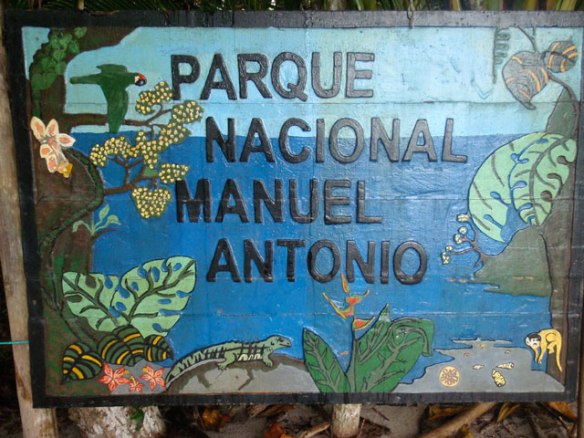
Park-Sign

This reminds me of a sign we saw on our way into the Parque Nacional Manuel Antonio, most probably because it is the sign we saw on our way into the Parque Nacional Manuel Antonio. Coincidence, I think not. Wait…What?

Mountain-Costa-Rica

Our first morning in Costa Rica we were greeted with this view.

At this point I remember wanting to cancel our flight back home, sell everything we owned and move immediately.

FYI – We didn’t cancel our flight home, we still have everything and a whole lot more and we’ve never moved. But we do have this photo. So, obviously it’s a win, win.

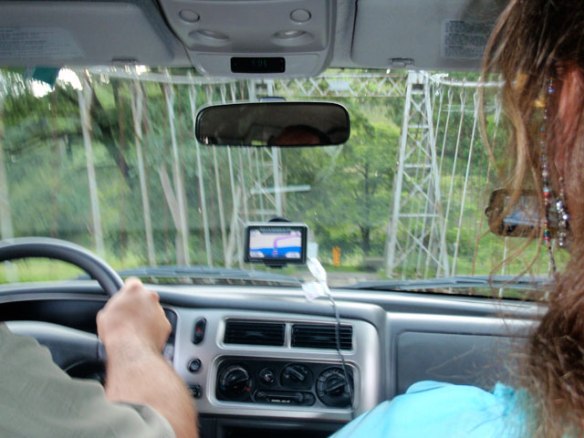
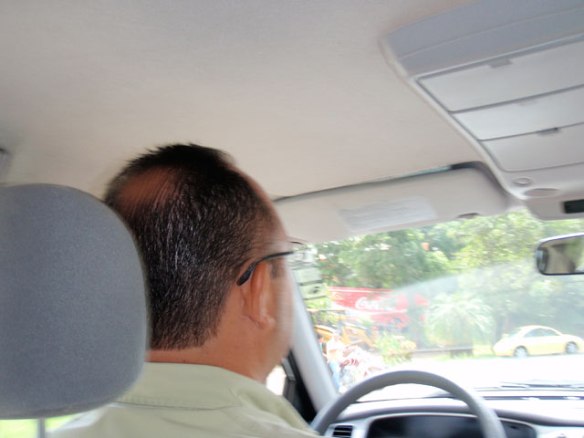
Mommys-Head

When I look at his photo I think I should have brushed my hair and that my husband is a very safe driver.

Looking-Out-Window

It’s funny how you can travel to another country, yet years later when you are enjoying the photos you are most captivated by your children and how fast they’ve grown up.

Their little ears, their tiny features – good grief I’m off to sob in the corner again.

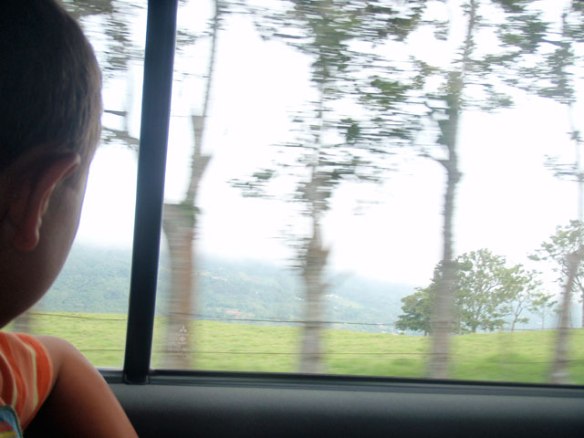
Looking-Out-of-Window

The Costa Rican countryside whisked by right in front of their beautiful little boy eyes. What a gift these memories will be for them.

Lizard-On-Rock

If your goal is to take photos of animals, give a child a camera. They can find animals anywhere!!

I literally could be standing with a snake under my feet and a monkey on my head and I’d miss them both.

But hey, that’s what I have my boys for ~ they’re mini ninja animal locators.

Daddy's-Head

Daddy…handsome, amazing, brilliant, mmmmm…what were we talking about ~ I’ve lost my train of thought!

Pardon me ~ That often happens when I’m wooing over my sweetheart.

Daddy-and-His-Boys

Upon inspection, you will notice neither one of the boys took this photo.

Upon further inspection and by process of elimination…you probably concluded it was me..if so you’re right!

I wanted to show you the fanny packs our boys use when we travel. Upon a variety of other things this is where they store their camera for easy access.

In truth, I just wanted another opportunity to look at my handsome hubby and cute kids…what can I say, I am clever like that.

Boys-On-Rock

Here’s a photo that represents what great parents we are…

Sure kids, go climb on the jagged rocks in a foreign country with no medical care close by. Have fun!

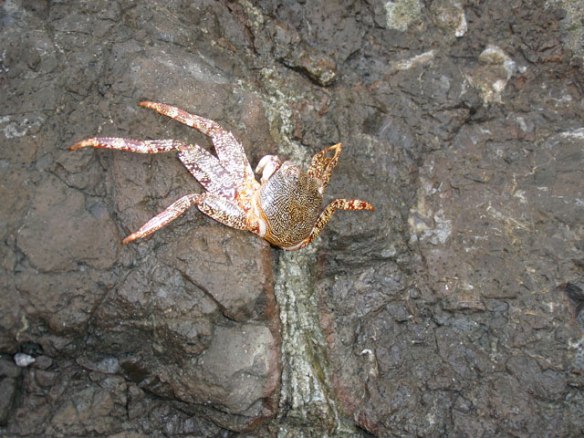
Crab

Before you lay judgement, please note this was clearly solid parenting and well worth the safety risk as we were able to bring home this glorious photo of a dead crab.

AAA---Until-Next-Time-Seperator

Until Next Time…Give your kids a camera and see the world through their eyes. You won’t regret it!

~Travel, in the younger sort, is a part of education; in the elder, a part of experience. Francis Bacon

Be blessed, stay blessed and remember if you don’t laugh at yourself someone will do it for you.

Love, L

It’s Time For the WORLD CUP, Baby!!

Hello Lovelies,

32 Teams.

1 Month.

1 Winner.

Oh Yah Baby, It’s Time For The WORLD CUP!!!

Mobile Users Click HERE To Watch Video

AAA---Until-Next-Time

~ Remember, always be yourself unless you can be a unicorn then always be a unicorn!!

Be blessed, stay blessed and remember if you don’t laugh at yourself someone will do it for you!

Love, L.

For team info, game times and lots of great fun facts visit the official page of the world cup – Fifa- Click Here

Image-for-LLL-Website-for-Wordpress

#1 Best Frittata You’ll Ever Eat!!

Frittata-Featured-Image

Hello Lovelies,

Every Sunday I make my family brunch. We are more or less creatures of habit in our household so we generally rotate through a handful of these Sunday recipes. One of our favorites being the frittata – Not to be confused with a quiche.

To help explain a frittata – I went to one of my favorite sources for info – Wikipedia…

Frittata is an egg-based dish similar to an omelette or quiche, enriched with additional ingredients such as meats, cheeses,vegetables or pasta. It may be flavored with herbs.

History:

The Italian word frittata derives from fritto, the past participle of “to fry” (friggere), and was originally a general term for cooking eggs in a skillet, anywhere on the spectrum from fried egg, through conventional omelette, to an Italian version of the Spanish tortilla de patatas, made with fried potato. Outside Italy, frittata was seen as equivalent to “omelette” until at least the mid-1950s.

Thank you Wikipedia for once again bestowing your knowledge upon me…

This dish is a no fail, go crazy, add anything, can’t go wrong rock star.

What I am trying to say is – it is virtually impossible to mess this dish up.

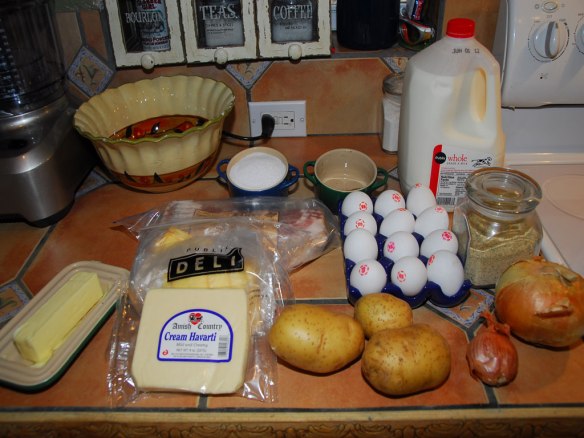
Frittata-Blog-2014---Ingredients---LaurelsLovelyLiving.com-

Today’s starting line up: Eggs, Bacon, Half and Half, Potatoes, Butter, Onions, Shallots, Kosher Salt, Black Pepper, Johnny’s Garlic, Sugar, Smoked Gouda Cheese and Havarti Cheese. Really…can it get much better?

Preheat the oven to 350 degrees.

Frittata-Blog-2014---Adding-Bacon---LaurelsLovelyLiving.com-

This is one stop shopping when it comes to your frying pan. The pan you start with is the pan you will end with so make sure it can go into the oven.

I use an 8″ All Clad sauté/simmer pan. The edges are higher than your typical frying pan. This allows me to really fill this bad boy up.

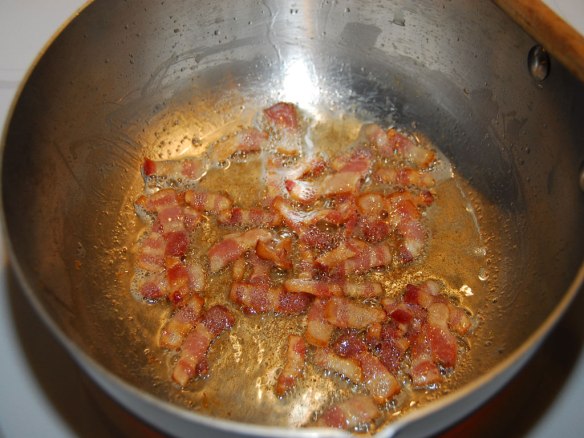
To start add the bacon to your frying pan, then turn the heat to medium high. There is no need to add butter or olive oil.

Frittata-Blog-2014---Frying-Bacon---LaurelsLovelyLiving.com-

Stir occasionally – Fry until golden brown.

Drain the bacon. I use a mesh colander, then I blot the bacon with a paper towel.

Set the bacon aside.

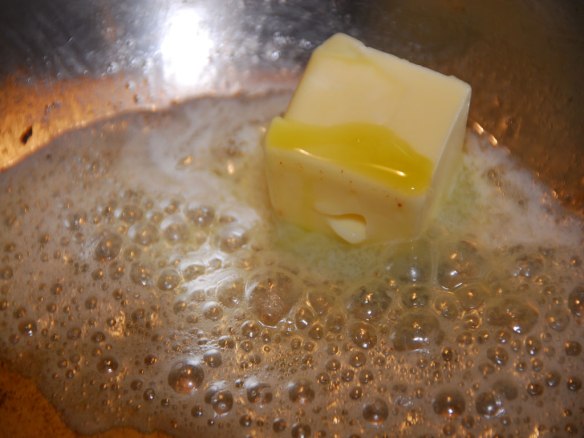
Frittata-Blog-2014---Butter---LaurelsLovelyLiving.com-

Give your frying pan a soft wipe with a paper towel. Just enough to sop up the excess grease.

Caution – HOT, which should be obvious at this point, but you just never know, so there’s your warning. You’re welcome.

Return your pan to the stove, add the butter and set to a smidge over medium heat. A smidge is just a bit more than a little. Capiche?

You can also add a splash of extra virgin olive oil if you desire.

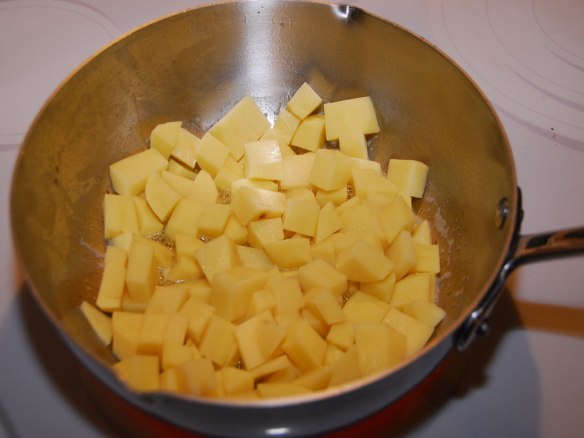
Frittata-Blog-2014---Potatoes---LaurelsLovelyLiving.com-

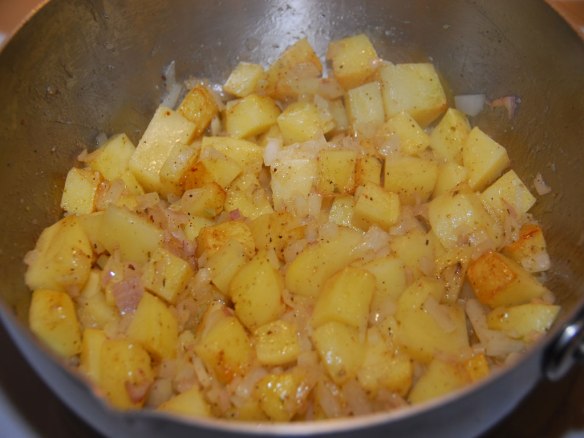
Chop your potatoes into bite size portions.

Add enough potatoes to your frying pan to cover the bottom of the pan in a single layer.

Leave your potatoes alone once they are situated in your frying pan.

I know you will be tempted to toss them but please do not – just trust me!

Providing the potatoes with an uninterrupted opportunity to fry is what is going to give them their golden brown color.

They will fry undisturbed for approximately 5 minutes.

Frittata-Blog-2014---Adding-Onions---LaurelsLovelyLiving.com-

In the mean time add the onions…still do not stir the potatoes. Let the onions rest on top.

Frittata-Blog-2014---Onions---LaurelsLovelyLiving.com-

Add the shallots…

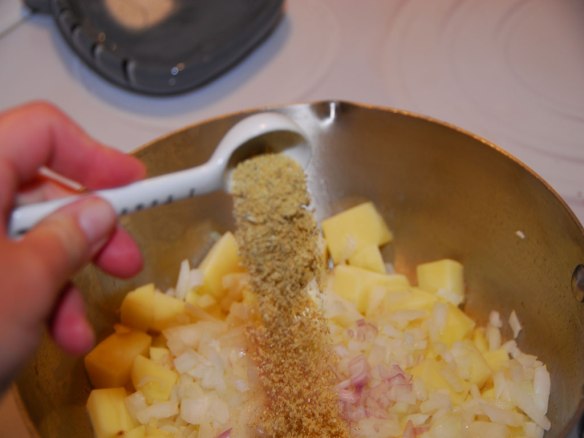
Frittata-Blog-2014---Johnnys-Garlic---LaurelsLovelyLiving.com-

Add the Johnny’s Garlic…

If you do not have Johnny’s Garlic substitute with 1/2 tsp garlic powder and 1/2 tsp onion powder.

No worries. I won’t tell if you don’t.

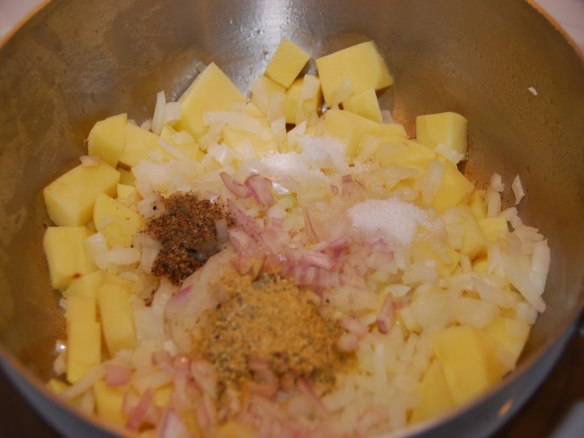
Frittata-Blog-2014---Potatoes-and-Spices---LaurelsLovelyLiving.com-

Add the kosher salt, the black pepper and the sugar.

Frittata-Blog-2014---Frying-Mixture---LaurelsLovelyLiving.com-

Check to make sure your potatoes have a golden brown color. Use a fork to conduct a potato quality control check. If it is golden brown then it is time to stir all the ingredients together.
Continue to cook for another 5 minutes. Stirring occasionally.

Frittata-Blog-2014---Eggs---LaurelsLovelyLiving.com-

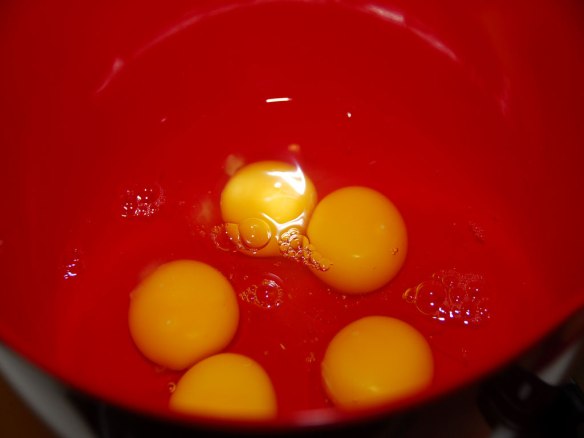
In a separate bowl add the eggs…

Frittata-Blog-2014---Eggs-and-Milk---LaurelsLovelyLiving.com-

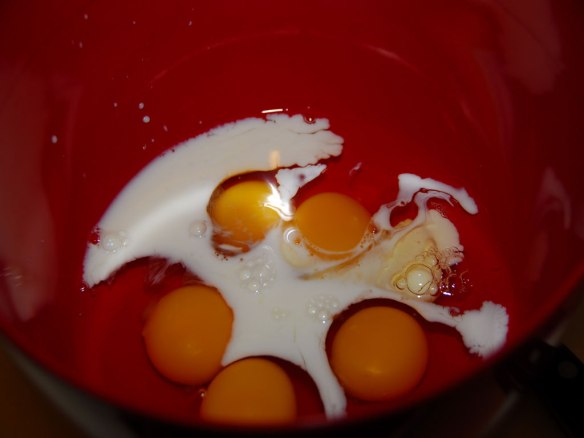
Add the half and half.

If you don’t have half and half, milk will do just fine.

Again, I won’t tell.

Frittata-Blog-2014---Bacon---LaurelsLovelyLiving.com-

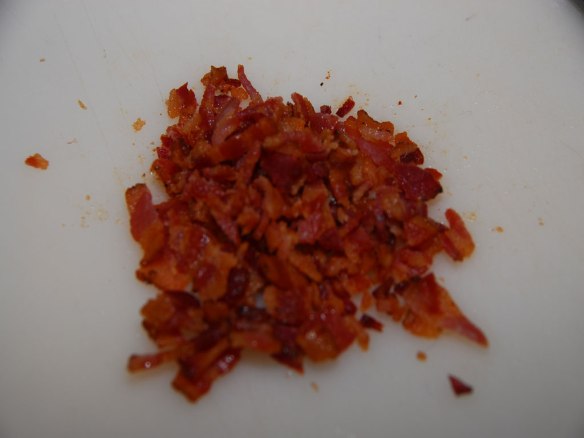
Remember the bacon from earlier? Give it a fine chop.

Once you have done that – add it to your bowl.

Frittata-Blog-2014---Weighing-Gryere---LaurelsLovelyLiving.com-

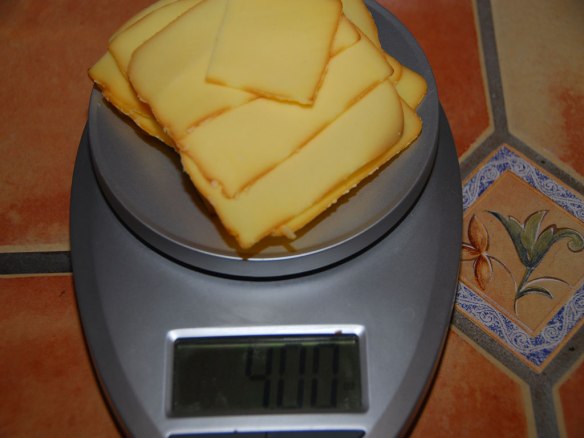
You will want 4 ounces of smoked gruyere (or smoked gouda) cheese. Either use a scale or have the deli weigh it for you.

You can substitute cheeses if you desire. You will want 6 oz of cheese in total. However, I encourage you to try it my way first.

If you have never tried a smoked cheese now is the time. It will change your life, rock your world and give you a more pleasant world view – Scouts honor.

Frittata-Blog-2014---Weighing-Cheese---LaurelsLovelyLiving.com-

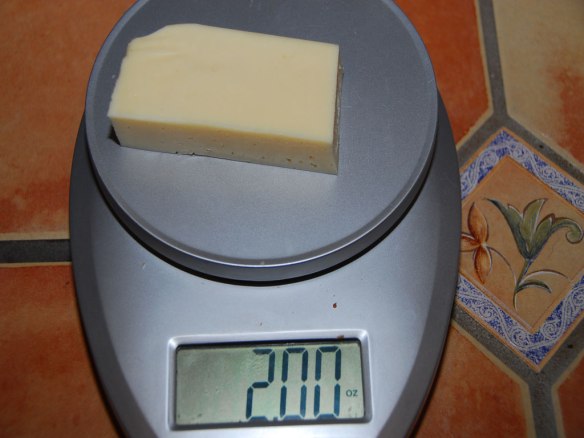
2 ounces of Creamy Havarti Cheese.

Frittata-Blog-2014---Grating-Cheese---LaurelsLovelyLiving.com-

Combine both cheeses in a food processor and chop them up.

This is my little trick for chopping cheese instead of killing myself with the hand grater.

I’m all about shortcuts, man.

Frittata-Blog-2014---Combining-Cheese---LaurelsLovelyLiving.com-

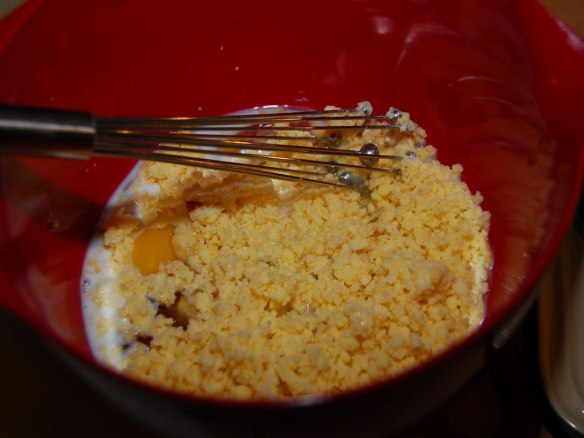
Get ready, get set, go…Whisk it all up until…

Frittata-Blog-2014—Wet-Mixture—LaurelsLovelyLiving.com

It looks like this. Simply marvelous.

Frittata-Blog-2014---Pouring-into-Pan

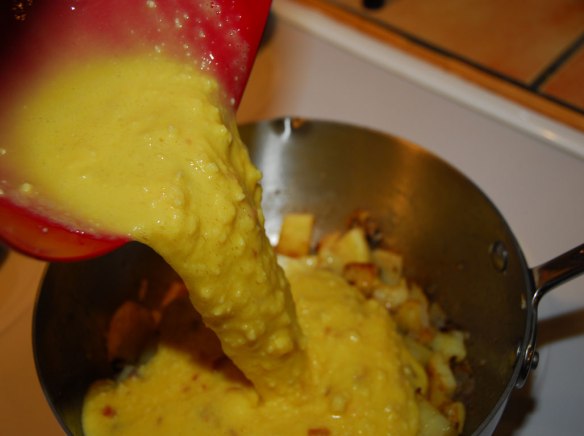
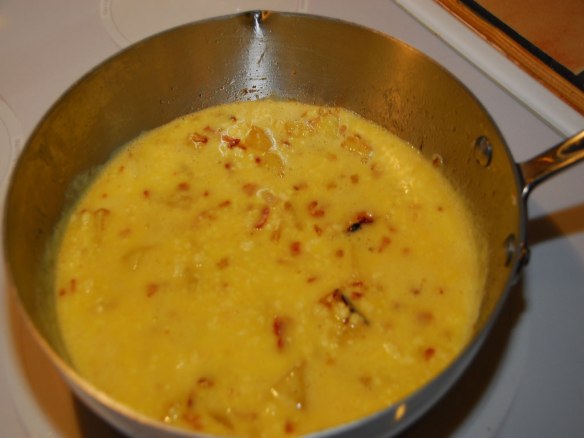
Pull the pan off the heat, make sure your potatoes are arranged in a single layer.
Pour your egg mixture over the potatoes.

Use a spatula and gently slice through the mixture a few times to seat the egg mixture.

Lookin’ good!!

Frittata-Blog-2014---Ready-for-Oven-

If it looks like this you done good…

Place it in the oven for 30 minutes.

Then broil for 2-3 minutes. This is not the time to engage in conversation or walk away.

I have a bad habit of getting distracted at this very moment…Geez, you would think by now I would know better.

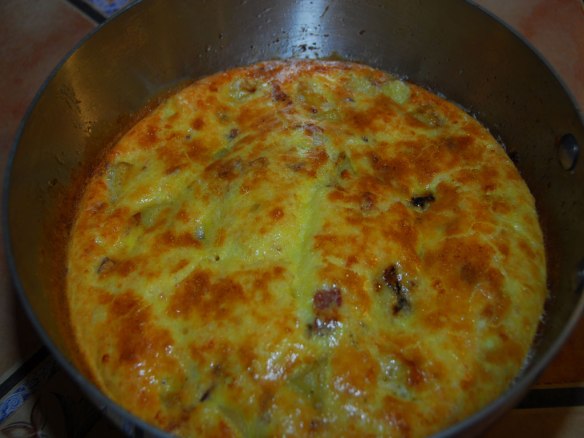
Frittata-Blog-2014---Finished-Frittata---LaurelsLovelyLiving.com-

If it looks like this you done great!!!

I am so proud of you.

You will want to let it cool.

A frittata tastes better when it has cooled down a bit – For my family I find a 1/2 hour cool down to be ideal.

You can pull it out of the frying pan and serve on a platter if you want to be fancy – or you can serve it directly out of the pan.

I like the feel of putting the whole pan on the table. Seems more authentic – whatever that means…

After brunch I leave the frittata out with a fork in the pan and we continue to pick at it all day long.

Ahh – Sunday and family – does it get much better than that? I think not.

Frittata-Blog-2014---Ty-

Ty wanted to say “hewo”.

Hewo Ty…Mommy wuvs you!!

My job is done here. I hope you enjoy your frittata and all the different ways you can make it “yours”.

Until-Next-Time

I’m off to pet Ty and sneak him some frittata (sssshhh don’t tell hubby).

Be blessed, stay blessed and remember if you don’t laugh at yourself someone will do it for you!

Love, L.

Image-for-LLL-Website-for-Wordpress


AA---Recipe-Header-For-Blog

Frittata

Ingredients

  • 3 slices bacon
  • 1 tablespoon butter
  • 1 tsp extra virgin olive oil
  • 1 or 2 large russet potatoes
  • ½ small sweet onion
  • 1 large shallots
  • 1 tsp. johnny’s garlic
  • 1 tsp. sugar
  • 5 egg
  • 2 tablespoons half and half
  • ½ teaspoon kosher salt
  • ½ teaspoon pepper
  • 4 ounces smoked gouda cheese
  • 2 ounces creamy havarti cheese

Method

  1. Preheat the oven to 350 degrees.
  2. Cut the bacon into 1/2 inch slices.
  3. Cook the bacon in an 8 inch ovenproof sauté pan over medium heat until golden brown.
  4. Drain the bacon with a mesh colander then pat with a paper towel.
  5. Discard the fat from the pan. Then give a gentle wipe to the pan with a paper towel to remove excess grease.
  6. Return the pan to the stove. Over medium heat add the butter and the extra virgin olive oil to the pan.
  7. Chop the potatoes into bite size portions and add to the pan. Fry undisturbed for approximately 5 minutes.
  8. Add the chopped onions, the chopped shallots, kosher salt, black pepper, johnny’s garlic and sugar.
  9. Cook over medium heat for 5 additional minutes, tossing occasionally until the onions start to brown and the potatoes are tender.
  10. Meanwhile, in a medium bowl, beat the eggs, half and half, chopped bacon and grated cheese.
  11. Place the pan in the oven for 30 minutes, until the omelet rises and the eggs are cooked in the center.
  12. Broil for 2-3 minutes – watch carefully, this happens fast.
  13. Serve hot directly from the pan – Cut into 8 pieces.